
Itinerary Tools
Keep a shared packing list, track spending in any currency, and store encrypted travel documents with each itinerary.
Each itinerary has three tabs for the practical side of the journey: Packing, Expenses and Documents. Pro
Pack
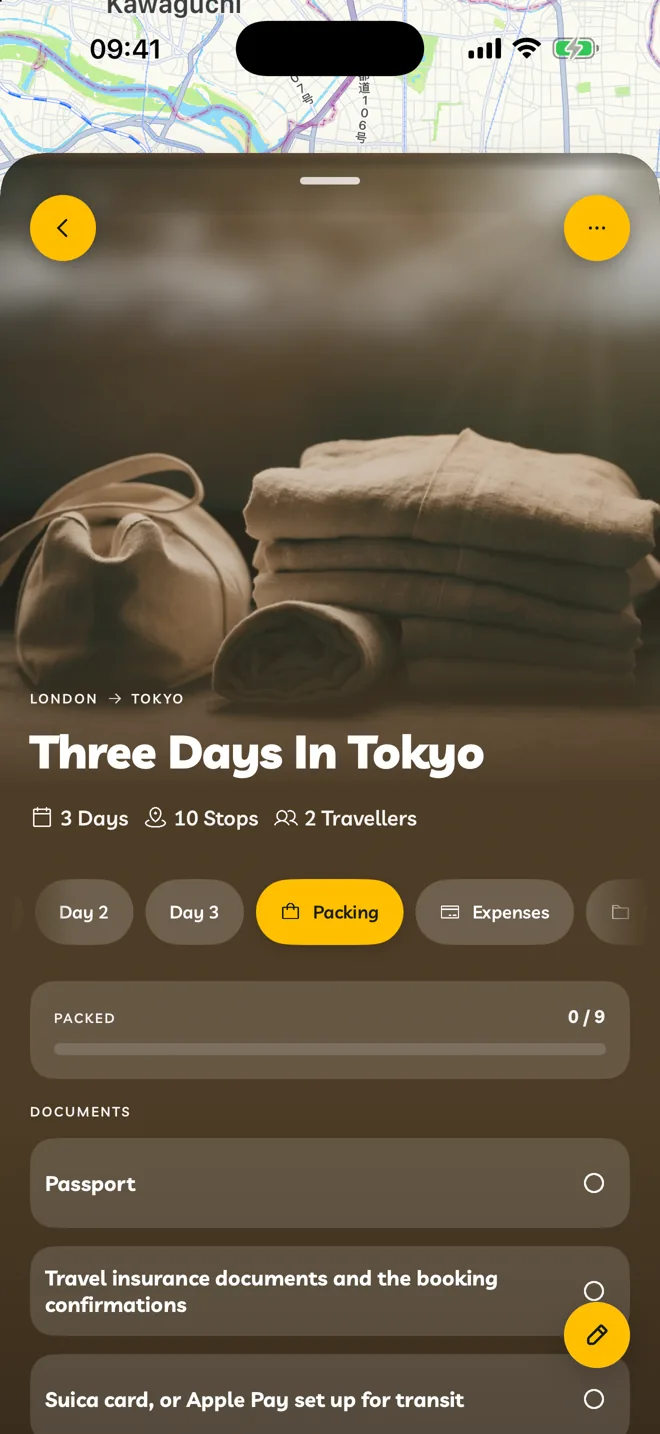
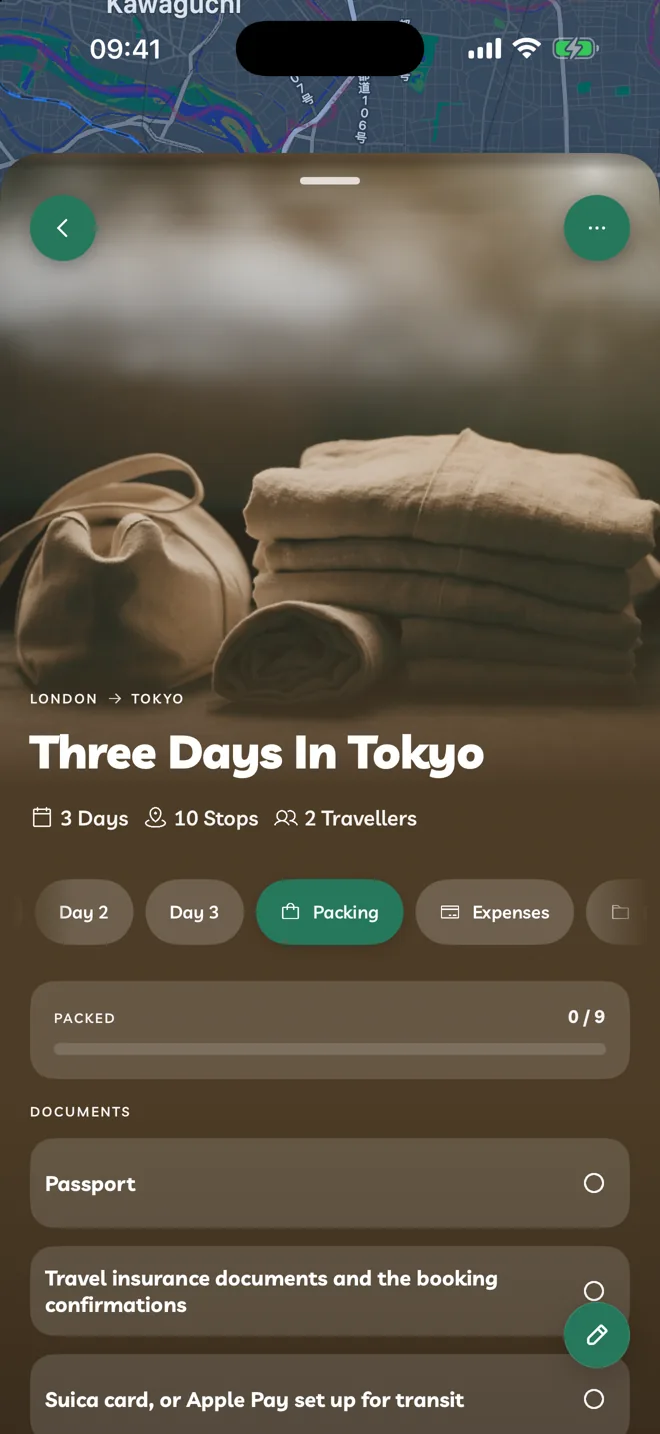
Open an itinerary and tap the Packing tab.
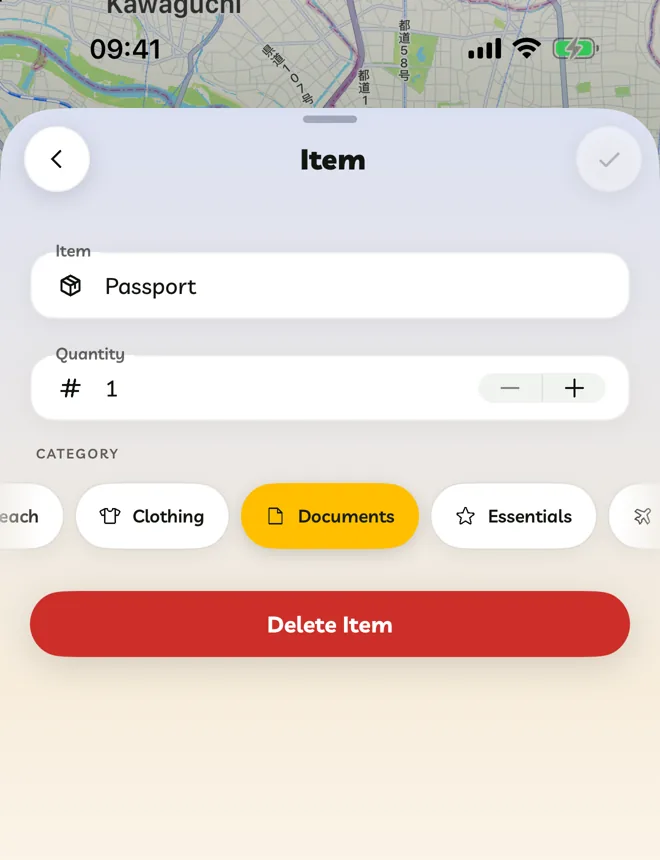
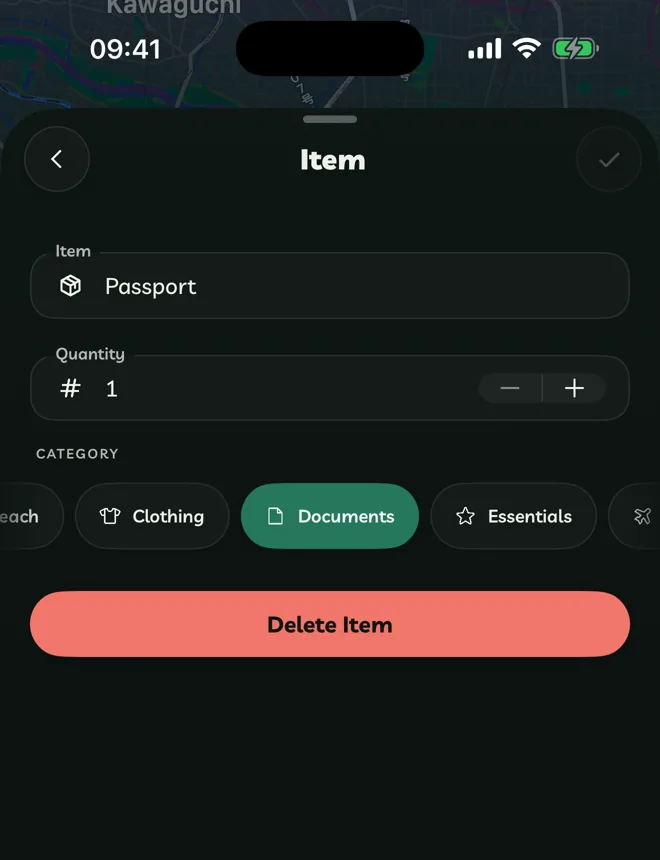
Tap Add Item. Give it a name under Item, a Quantity and a Category, then tap Save.
Tick things off as you pack them. Packed at the top counts them.
Once the list has items, tap Edit Itinerary, then Add To Itinerary to add more.
Categories are Accessories, Beach, Clothing, Documents, Essentials, Flights, Footwear, Health, Hotels, Kids, Outdoors, Snacks, Stops, Tech, Toiletries, Work and Other. Everyone you share the itinerary with sees the same list, so you can split the packing.
Track Expenses
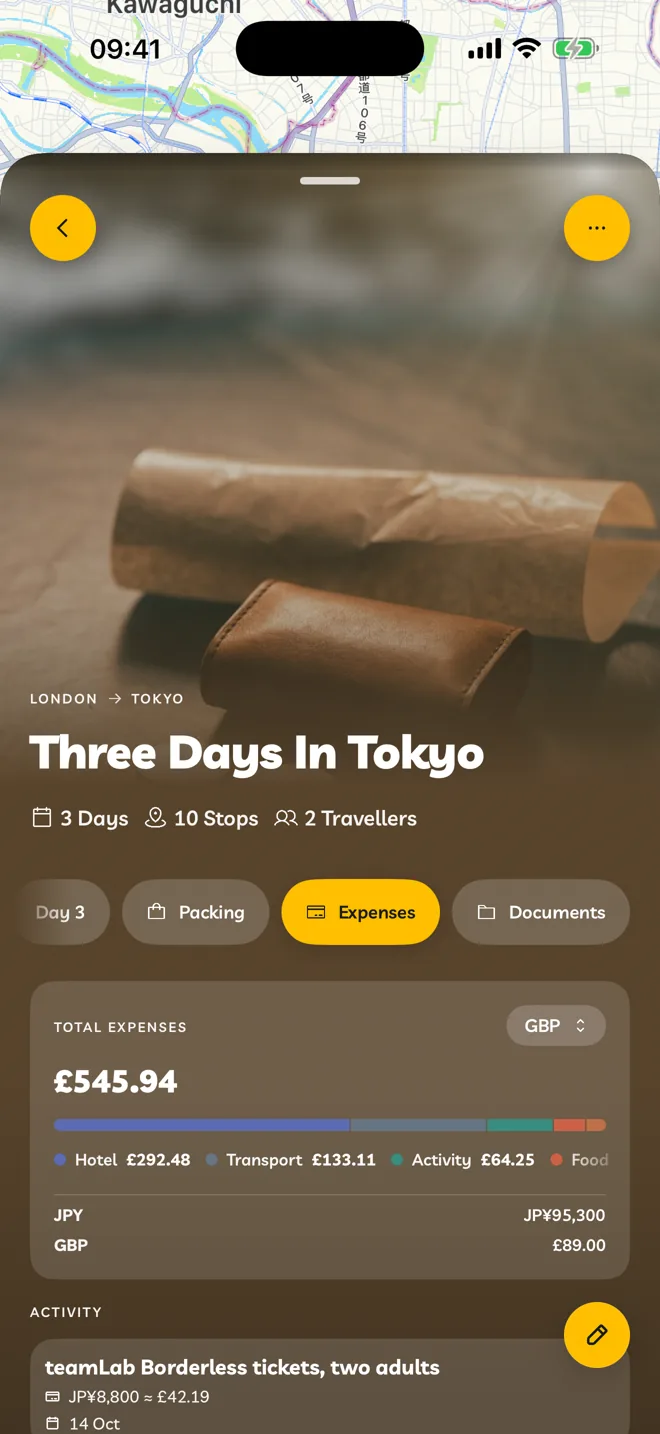
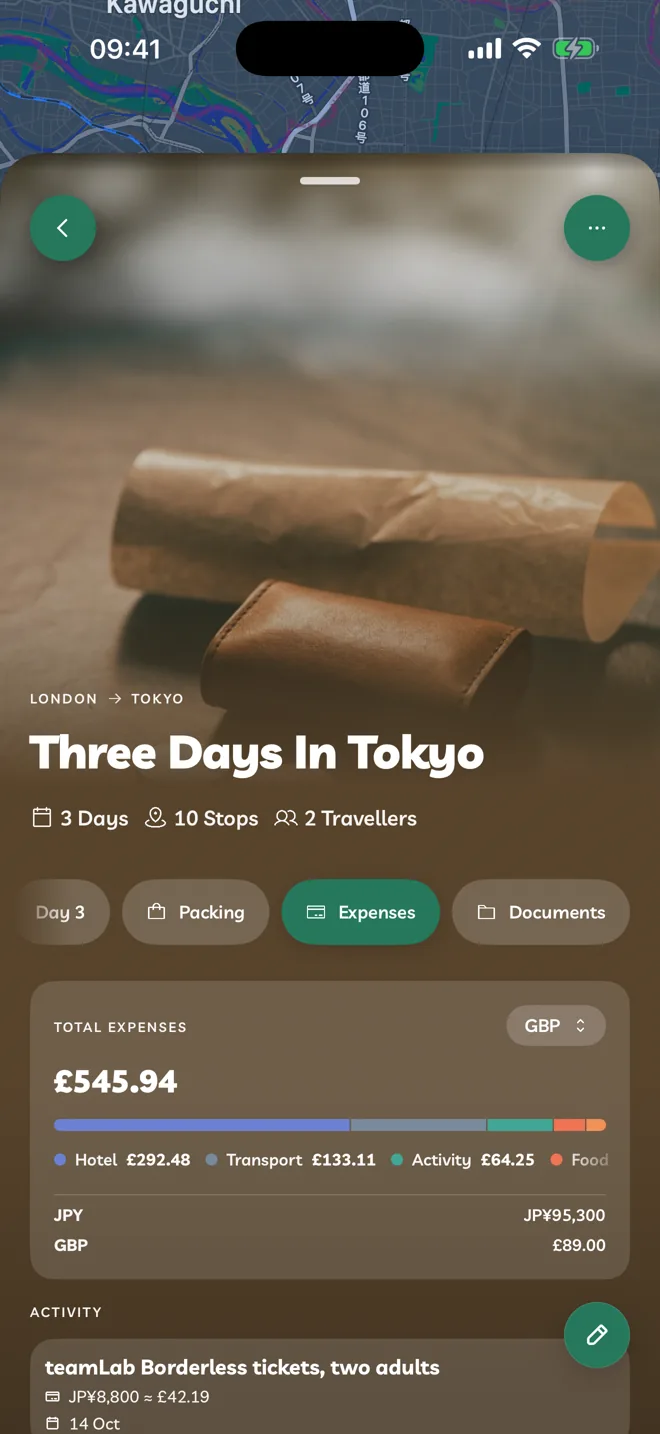
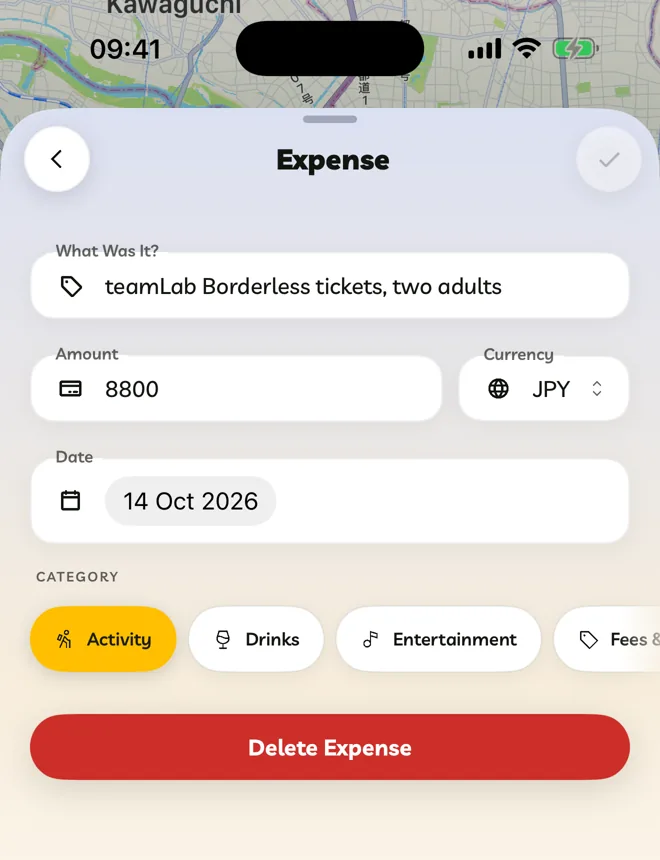
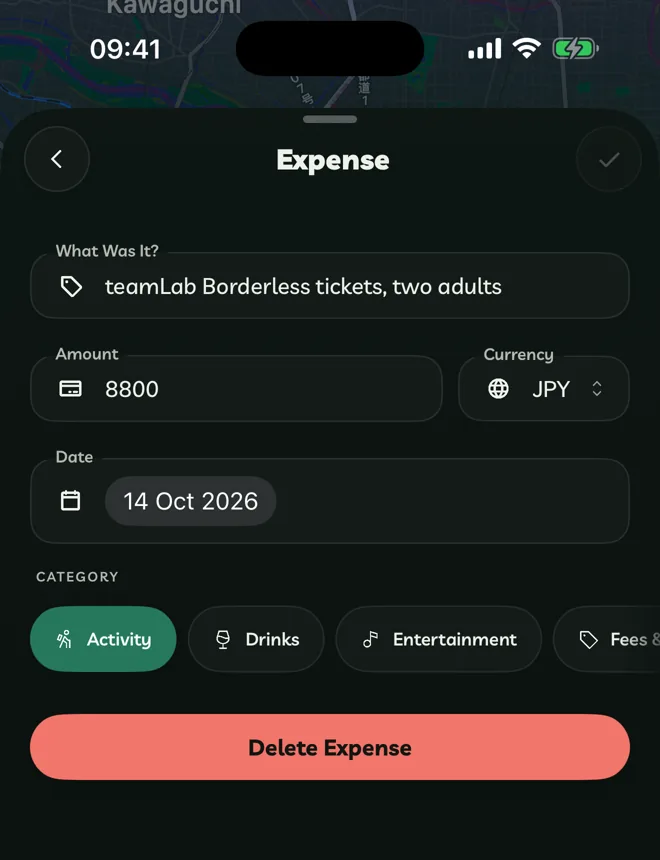
Open an itinerary and tap the Expenses tab.
Tap Add Expense, then Add Manually.
Fill in What Was It?, the Amount, the Currency, the Date and a Category. Tap Save.
Categories are Activity, Drinks, Entertainment, Fees & Tips, Flights, Food, Gifts, Health, Hotel, Insurance, Parking, Shopping, Stops, Tickets, Transport and Other.
To add expenses from a receipt, tap Add Expense, then Take Photo, Upload Image or Upload File(s), and pick your receipt. Travelyfe reads the receipt on your device and adds what it finds. Tap Undo if something's wrong. For a PDF, only the first page is read.
Total Expenses at the top adds everything up in one currency, with a breakdown by category. Tap the currency beside the total to change it.
Keep Documents
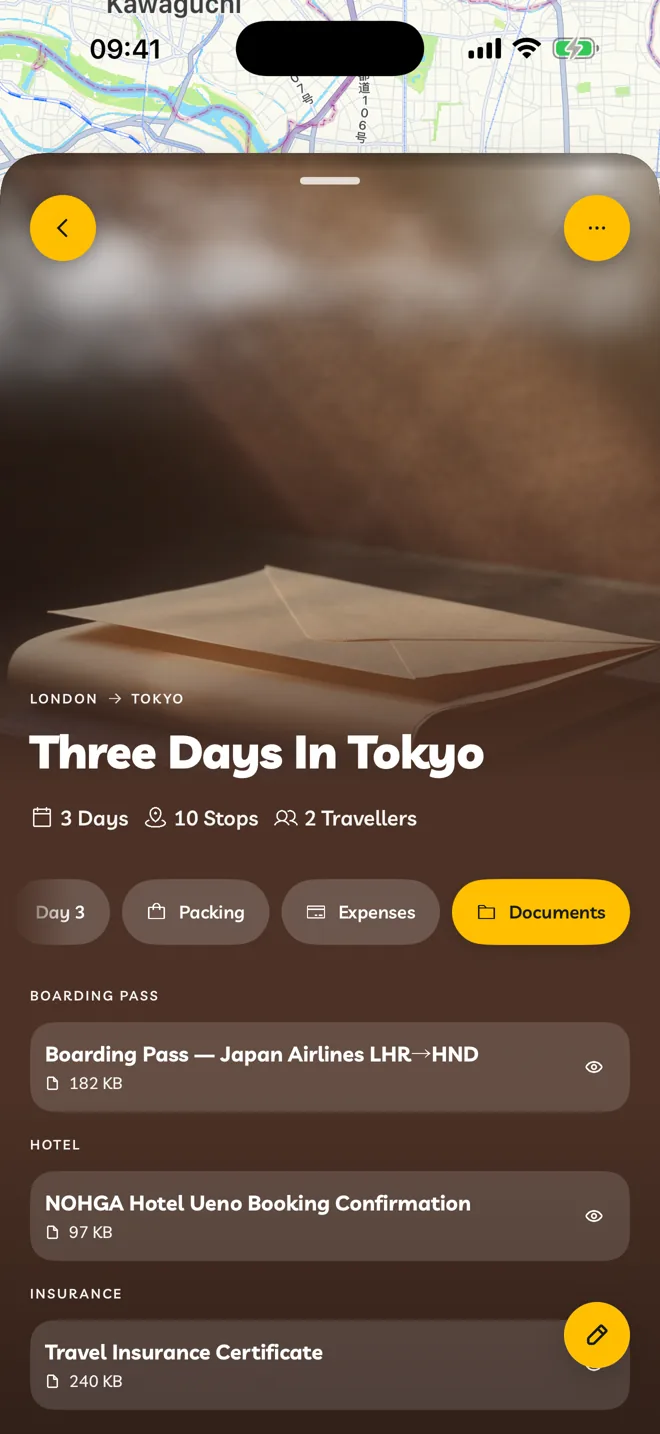
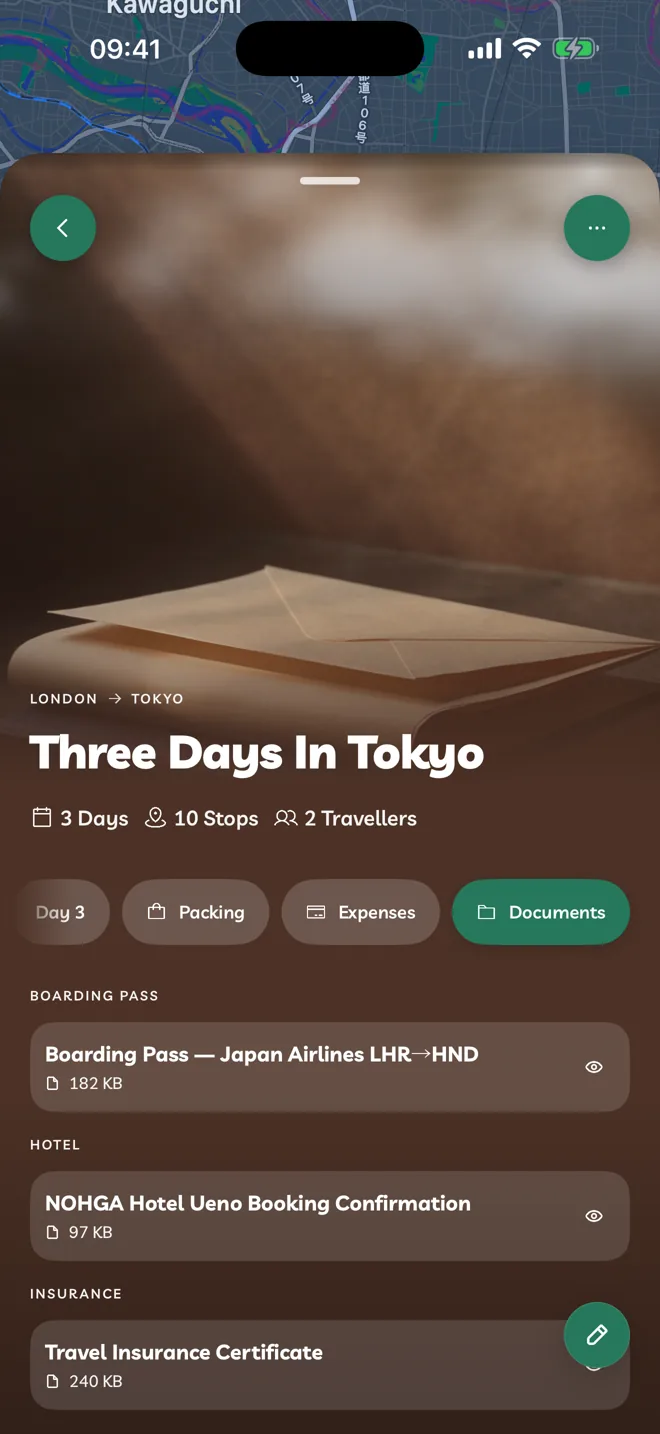
Open your itinerary and tap the Documents tab.
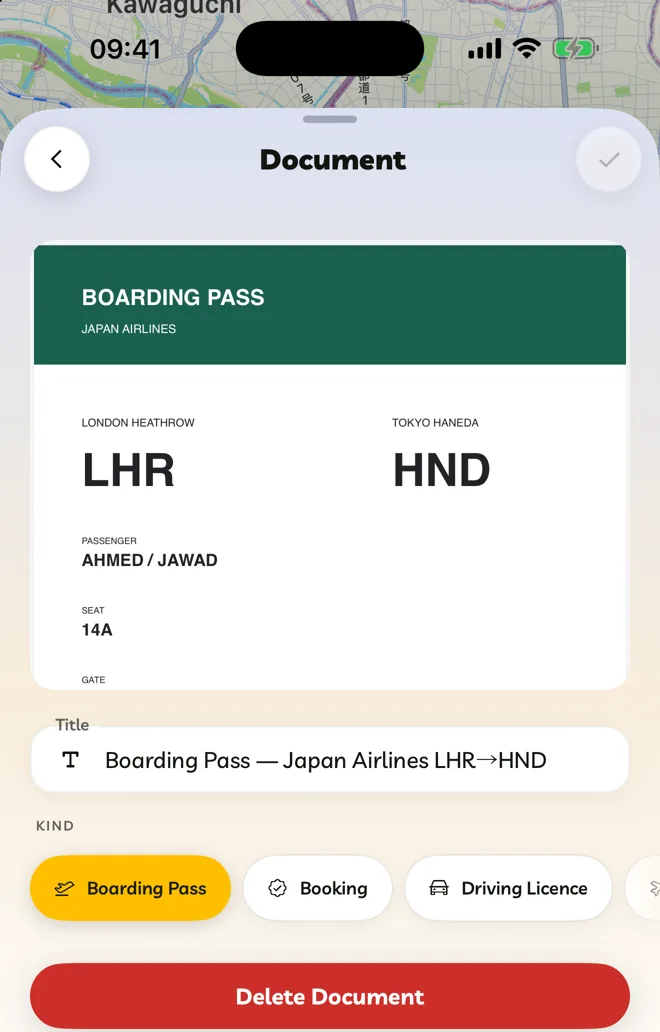
Tap Add Document, then Take Photo, Upload Image or Upload File(s).
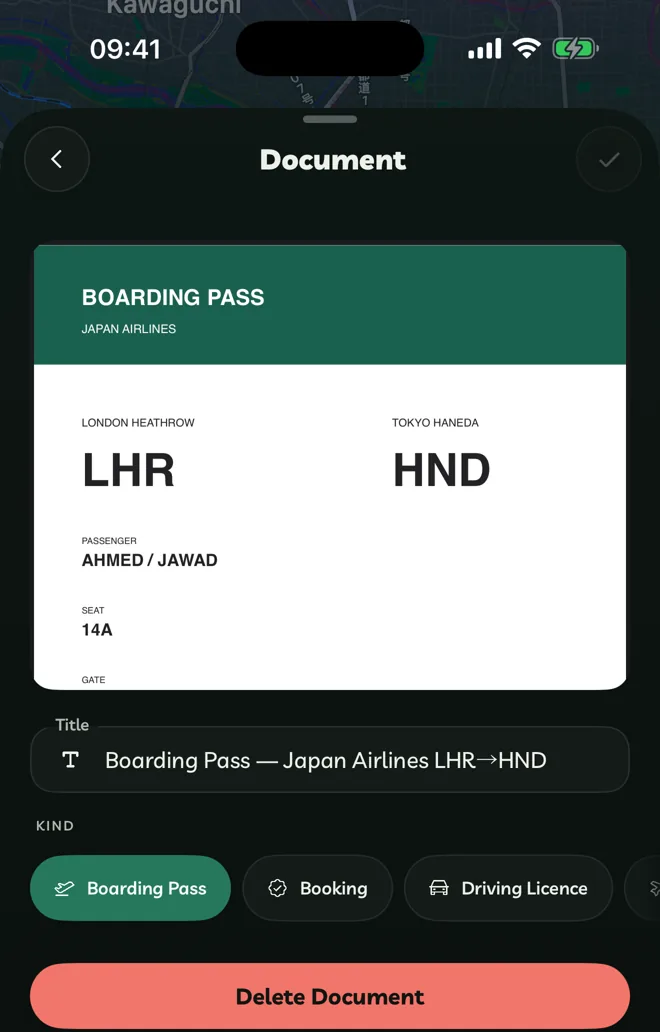
Give it a Title and choose its Kind. Tap Save.
- iPhone and iPad: Take Photo scans the pages into a PDF.
- Mac: Take Photo uses your camera, and can take several pages. You can also drag files onto the tab.
- Web: choose one file at a time.
Kinds are Boarding Pass, Booking, Driving Licence, Flight, Hotel, Insurance, Itinerary, Medical, Passport / ID, Receipt, Stop, Ticket, Transport, Vaccination, Visa and Other.
What You Get
The Packing and Expenses lists are shared with everyone on the itinerary. Documents are encrypted on your device before they're uploaded, and only your account can open them. Sign in on any device, including travelyfe.com, and they're there. The Documents tab is on your own itineraries, and on ones shared with you.
If It Doesn't Work
If a tab asks you to subscribe, you need Pro: see Subscribe To Pro. If your documents won't open on the web, see Troubleshooting.
Limits
- Documents can be PDFs or images, up to 20 MB each.